Discovering a broken lipstick in your makeup bag can be disheartening, especially when it’s a beloved shade you can’t live without. However, fear not! With the right techniques and a little patience, you can easily repair your broken lipstick and have it looking as good as new. In this guide, we’ll walk you through the steps to fix broken lipstick, saving you both money and the disappointment of losing a cherished beauty staple.
Assessing the Damage
Before diving into the repair process, it’s essential to assess the extent of the damage. Is it a partial break or a complete separation? Take a moment to inspect the lipstick to determine if it’s salvageable or if it’s time to bid it farewell. Also, check for any signs of contamination or dirt that may require additional cleaning.

Gathering Supplies
When it comes to repairing a broken lipstick, having the right supplies at your disposal is key. Luckily, you can find many of these essential items at your trusted beauty destination, Ahlan Ladies Salon. Here’s a closer look at what you’ll need:
Clean Spatula or Butter Knife:
A clean spatula or butter knife is essential for handling the delicate task of reattaching broken lipstick pieces. These tools allow for precise application and manipulation without causing further damage to the lipstick.
Lighter or Hairdryer:
Heat is your friend when it comes to fixing broken lipstick. A lighter or hairdryer can be used to gently melt the lipstick, making it easier to reattach the broken ends. Be sure to use caution and avoid overheating the lipstick to prevent melting it beyond repair.
Rubbing Alcohol:
Sanitizing the repaired lipstick is crucial to remove any bacteria or dirt that may have accumulated during the repair process. Rubbing alcohol serves as an effective disinfectant, ensuring that your lipstick is safe to use on your lips.
Tissue Paper or Cotton Swabs:
Cleaning up any excess product and ensuring a smooth finish is essential for a successful lipstick repair. Tissue paper or cotton swabs can be used to remove any residue and perfect the appearance of your repaired lipstick.
Small Container for Storage:
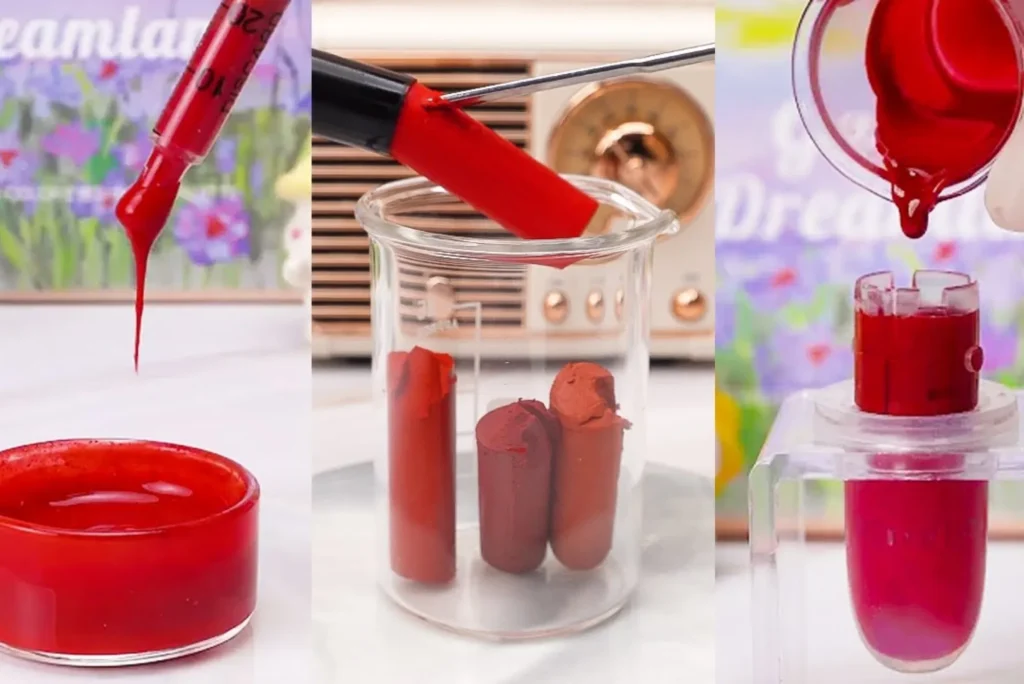
In cases where the lipstick is too damaged to be reattached, having a small container for storage can be a lifesaver. Simply melt the broken ends of the lipstick and pour the melted product into the container for easy application with a lip brush.
Fixing Partial Breakage
When faced with the frustration of a partially broken lipstick, it’s essential to know how to handle the situation effectively. By mastering the techniques of fixing partial breakage, you can salvage your favorite lipstick shades and avoid unnecessary waste. Here’s a step-by-step guide to help you navigate this common beauty dilemma:
Assess the Damage:
Before diving into the repair process, take a moment to assess the extent of the partial breakage. Determine how much of the lipstick has broken off and if it’s still salvageable. This initial evaluation will guide your approach to the repair.
Prepare Your Workspace:
Find a clean and well-lit area to work in, preferably near a mirror for better visibility. Lay out your supplies, including a clean spatula or butter knife, a lighter or hairdryer, and rubbing alcohol, ensuring everything is within reach.
Reattach the Broken Piece:
Using your chosen tool, carefully pick up the broken piece of lipstick and position it back onto the base of the lipstick. Apply gentle pressure to ensure a secure connection, but be careful not to apply too much force and risk further damage.
Apply Heat if Necessary:
If the lipstick is too stiff to reattach easily, use a lighter or hairdryer to apply gentle heat to the base of the lipstick. This will soften the product, making it more pliable and easier to manipulate. Be cautious not to overheat the lipstick, as excessive heat can cause it to melt irreparably.
Smooth Out Any Imperfections:
Once the broken piece is reattached, use your finger or a clean spatula to smooth out any imperfections along the seam. This will help create a seamless transition between the repaired section and the rest of the lipstick.
Sanitize and Set:
Before using the repaired lipstick, it’s essential to sanitize it to remove any bacteria or dirt that may have accumulated during the repair process. Dip a cotton swab or tissue paper in rubbing alcohol and gently clean the surface of the lipstick. Allow the lipstick to set for a few minutes before applying it to your lips.
Repairing Complete Breakage
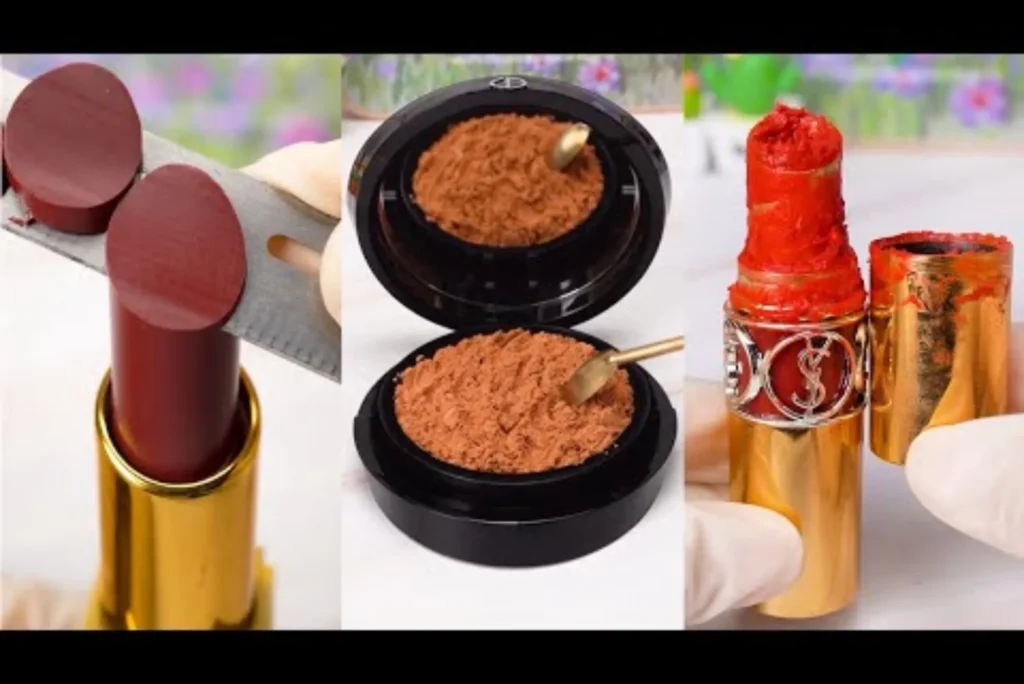
When faced with the challenge of repairing a completely broken lipstick, it’s essential to approach the task with precision and care. Fortunately, with guidance from the expertise found at your local beauty salon, such as Ahlan Ladies Salon, you can confidently tackle even the most daunting of lipstick repairs. Here’s a detailed breakdown of how to handle complete breakage:
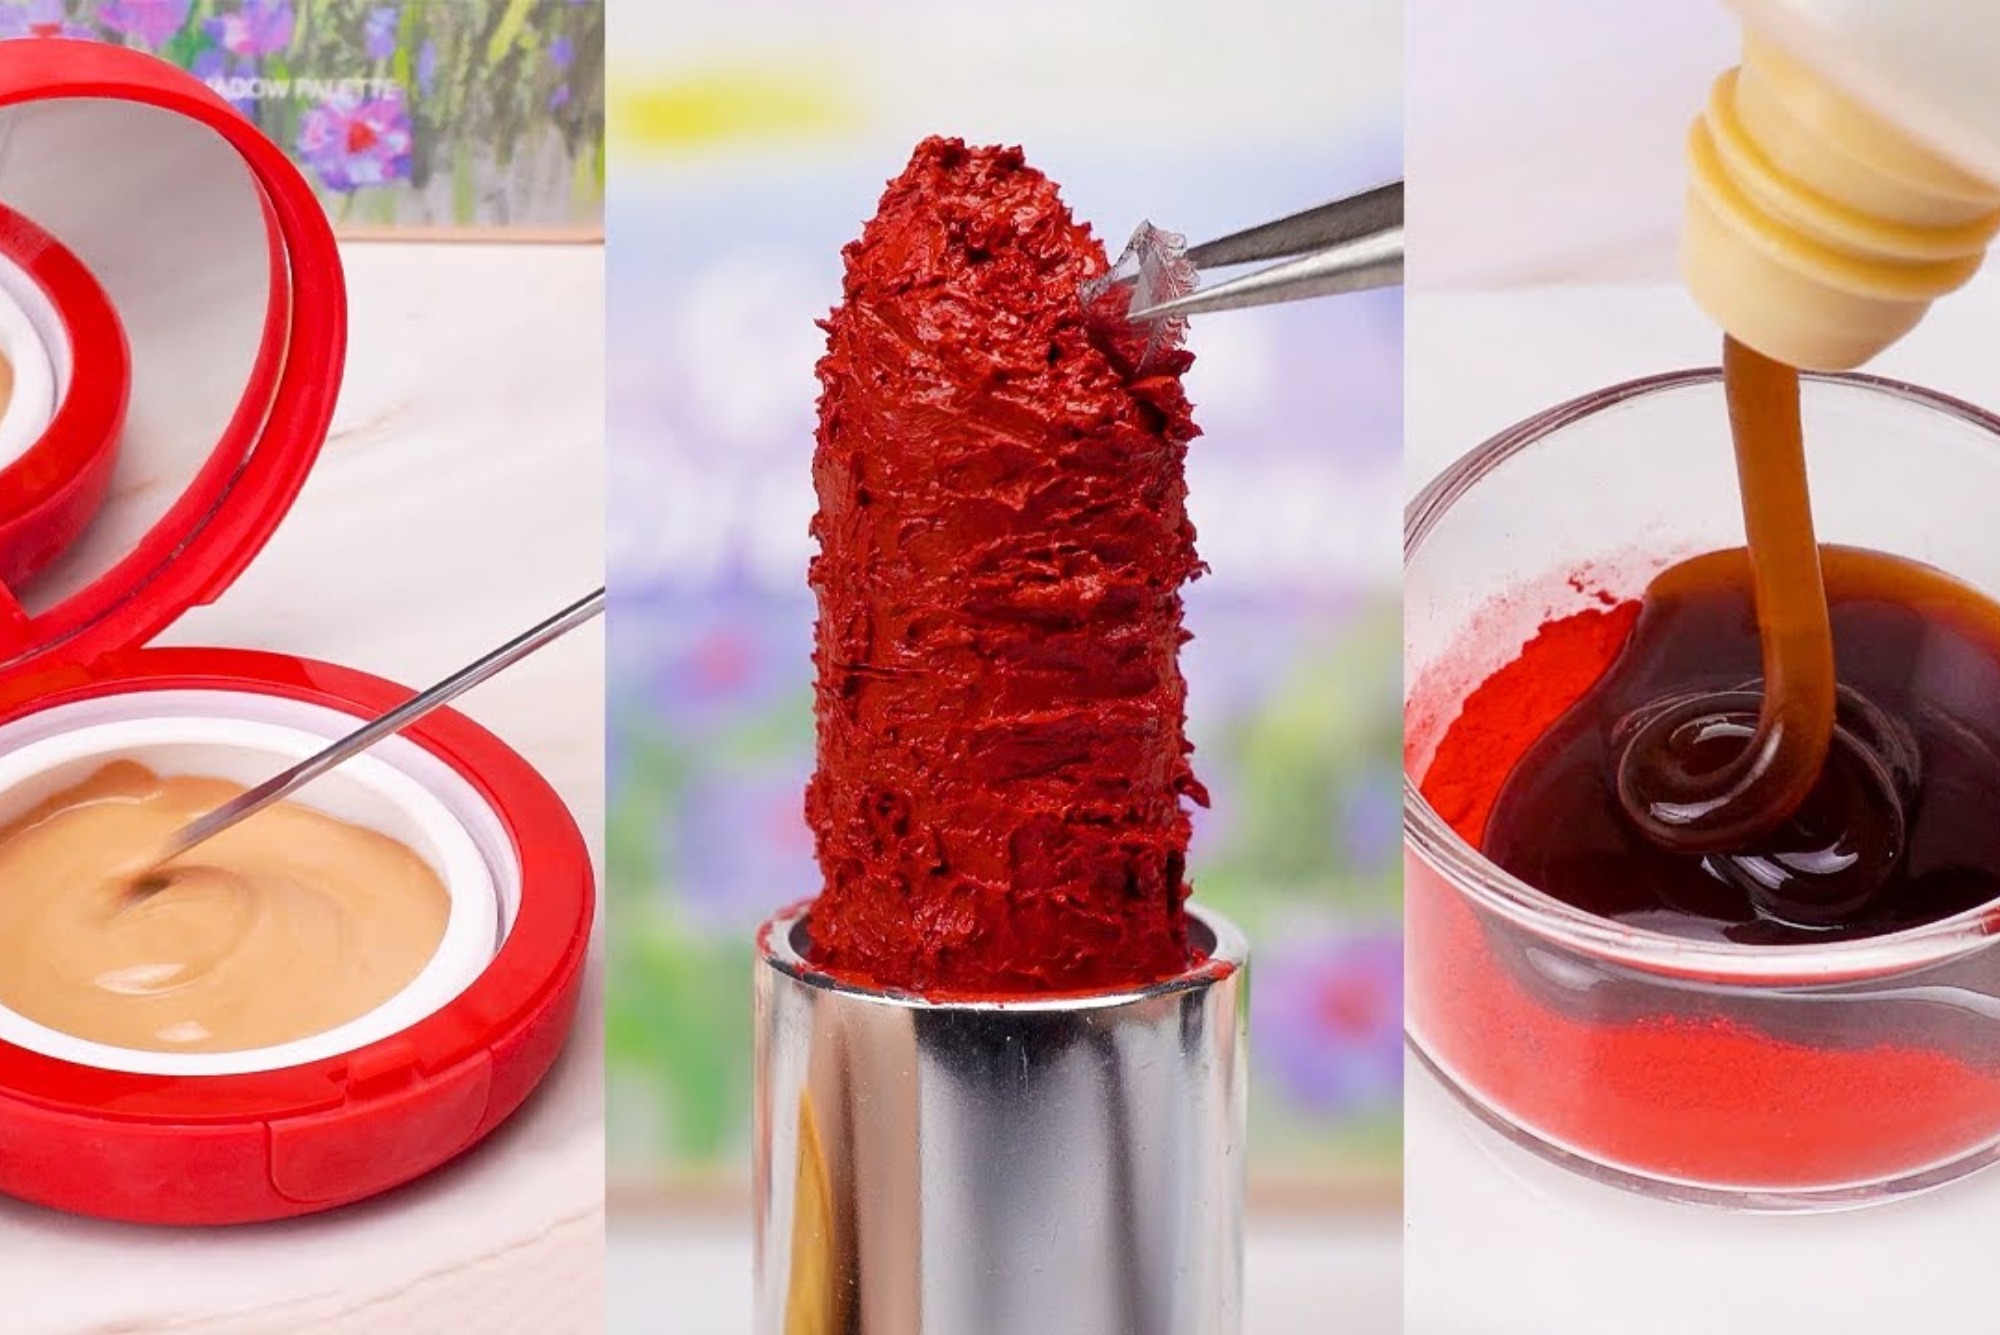
Melt Both Broken Ends:
Begin by using a lighter or hairdryer to gently melt both broken ends of the lipstick. Applying heat to the lipstick softens the product, making it easier to manipulate and reattach.
Align the Pieces:
With the ends melted, carefully align the broken pieces of the lipstick, ensuring a seamless connection. Take your time to match the edges precisely for a flawless finish.
Press Firmly and Securely:
Once the pieces are aligned, press them together firmly to promote adhesion. Apply gentle pressure to ensure that the broken ends bond together effectively without causing any further damage.
Smooth Out Any Excess:
After reattaching the broken ends, smooth out any excess product to achieve a uniform appearance. Use a clean spatula or butter knife to tidy up the edges and create a seamless transition between the repaired sections.
Consider Alternative Application:
In cases where the lipstick is too damaged to be reattached, consider melting both ends and pouring the melted product into a small container for storage. This alternative application method allows you to continue using your favorite shade with ease.
Sanitizing and Setting
After the repair process, it’s crucial to sanitize your lipstick to remove any bacteria or dirt. Dip a tissue paper or cotton swab in rubbing alcohol and gently clean the lipstick surface. Allow the lipstick to set for a few hours or overnight before using it again to ensure optimal results.
Don’t let a broken lipstick ruin your day! With these simple steps, you can easily fix your favorite shades and continue slaying your makeup looks. Remember, the supplies you need are readily available at your nearest beauty salon or Ahlan Ladies Salon, so you can get back to rocking your signature lip color in no time. Don’t be afraid to experiment and get creative – you’ve got this!